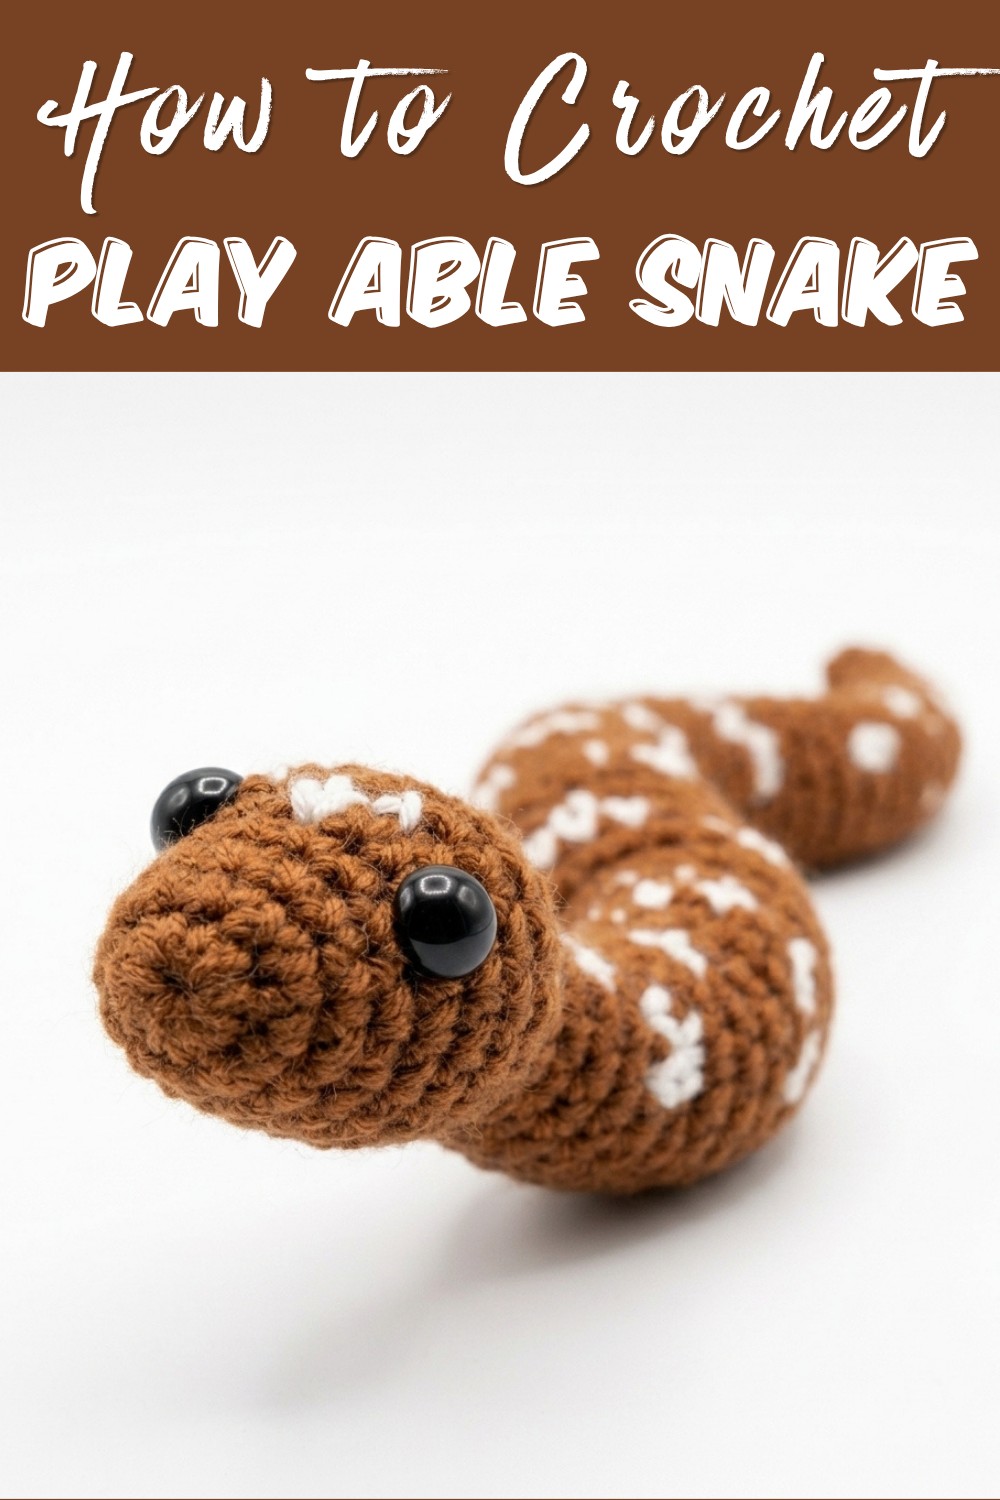
Boost creativity with this free crochet snake pattern, for realistic curly shape playful texture and fun decorative toy with stylish look.
Do you want an easy way to make something cute and special for your home or child? With a crochet snake pattern, you can quickly create a soft, colorful snake that will be loved by anyone. The steps are simple to follow and you need only basic tools, making it easy for anyone to try. One big benefit is that this snake is safe for children to play with and can be used as a toy, decoration, cushion, or even a door stopper.
Free Crochet Snake Pattern for Plush Toy Lovers
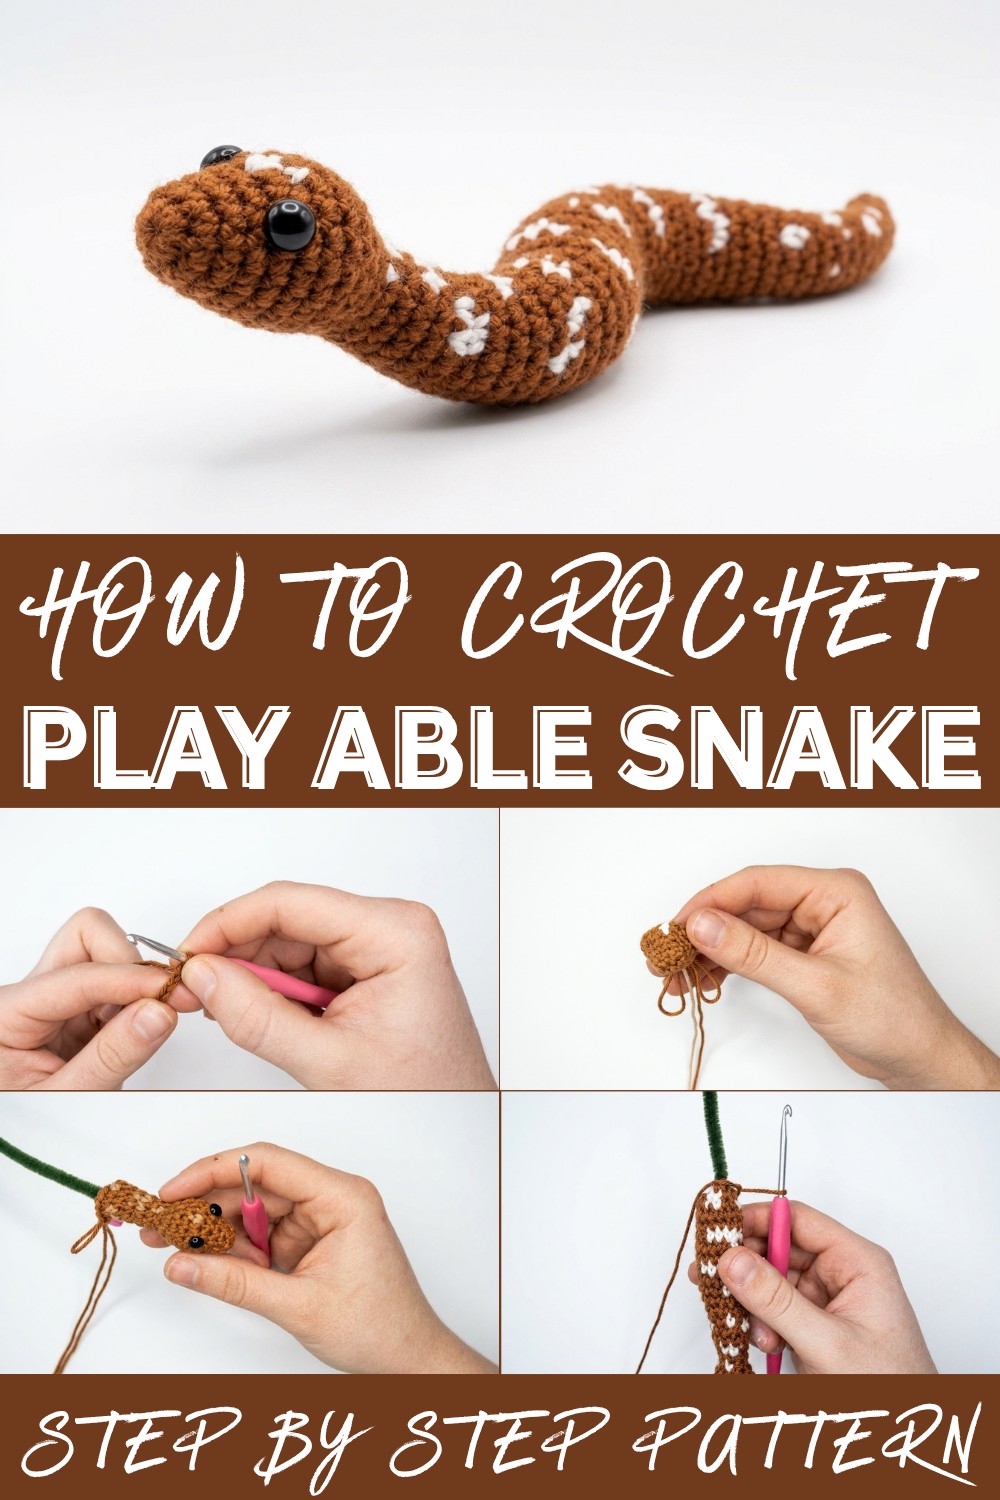
You can make your snake look beautiful by choosing bright colors and adding your own touches, like eyes or unique patterns. The specialty of this crochet project is that it gives you a fun way to relax and be creative, turning yarn into a friendly, handmade snake. Sharing your finished snake with family or friends brings happiness and pride, and you will love seeing how easy it is to make something joyful.
Amigurumi Snake Free Crochet Pattern
Materials
- Yarn: 100% cotton, DK weight in two colors (e.g., yellow as main, white as contrast); one yarn is about 2 mm thick, the other about 1 mm doubled.
- Alternative: Use any yarn of similar weight; using thicker yarn will yield a larger snake.
- Hook: US size D/3 (3.0 mm)
- Safety Eyes: 6 mm
- Stuffing: Polyester fiberfill (or silicone-coated fleece)
- Pipe Cleaner (or wire wrapped in tape): For body structure and flexibility
- Yarn needle: For sewing and finishing
- Stitch marker
- Scissors
- Optional: Keychain hardware/lobster clip
Abbreviations (US Terminology)
- ch: chain
- sc: single crochet
- inc: increase (2 sc in next st)
- dec: decrease (sc 2 sts together)
- sl st: slip stitch
- st: stitch
- FO: finish off
Special Notes
- The snake is worked in a continuous spiral, unless otherwise indicated.
- Use a stitch marker to mark the first stitch of each round.
- Work color changes by completing the last yarn-over of the previous stitch with the new color.
- Pipe cleaner is inserted during construction for flexibility.
Pattern Instructions
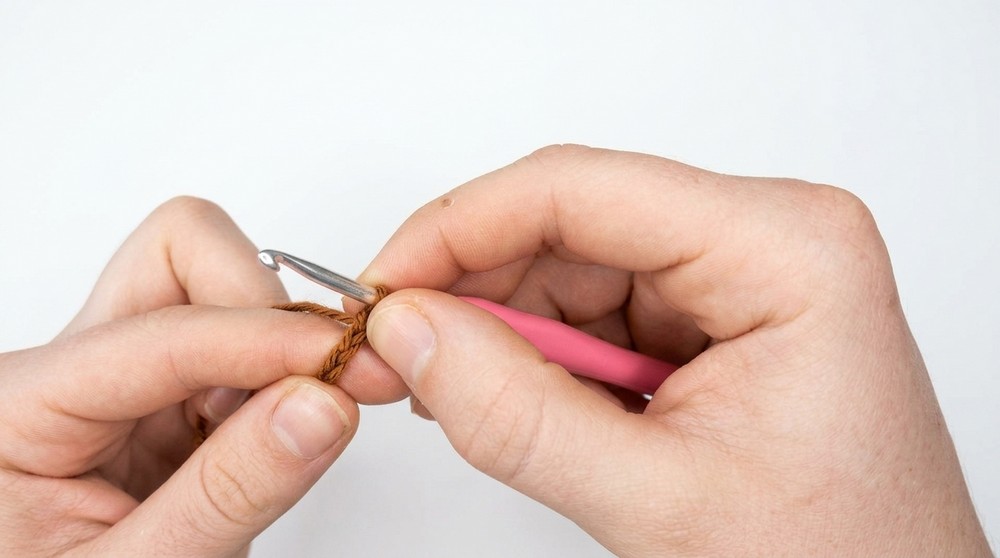
Snake Head
Start with main color (Color A, e.g., yellow):
- Foundation:
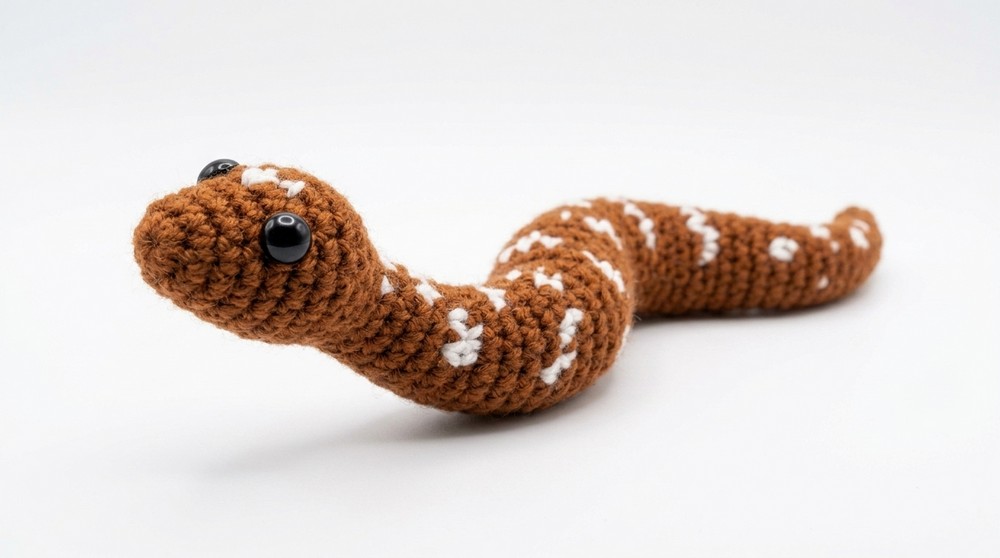
Ch 4.
- Row 1:
Starting in 2nd ch from the hook:- Sc in next 2 ch
- In last ch: 2 sc (inc)
- Working on the opposite side of the chain:
- Sc in next ch
- In last ch: 2 sc (inc)
(Total: 7 sts)
- Round 2:
- Sc in each st around (7 sts)
- Round 3:
- [inc, sc in next 2, inc, sc in next 3]
(9 sts)
- [inc, sc in next 2, inc, sc in next 3]
- Round 4:
- [sc, inc] x 3, sc in next 3
(12 sts)
- [sc, inc] x 3, sc in next 3
- Round 5:
- Sc in next 2
- Inc
- Sc
- Change to contrast color (Color B, e.g., white) by completing last yarn-over of previous sc with new color
- Sc with Color B, close with Color A
- Sc
- Inc
- Sc in next 5 (14 sts)
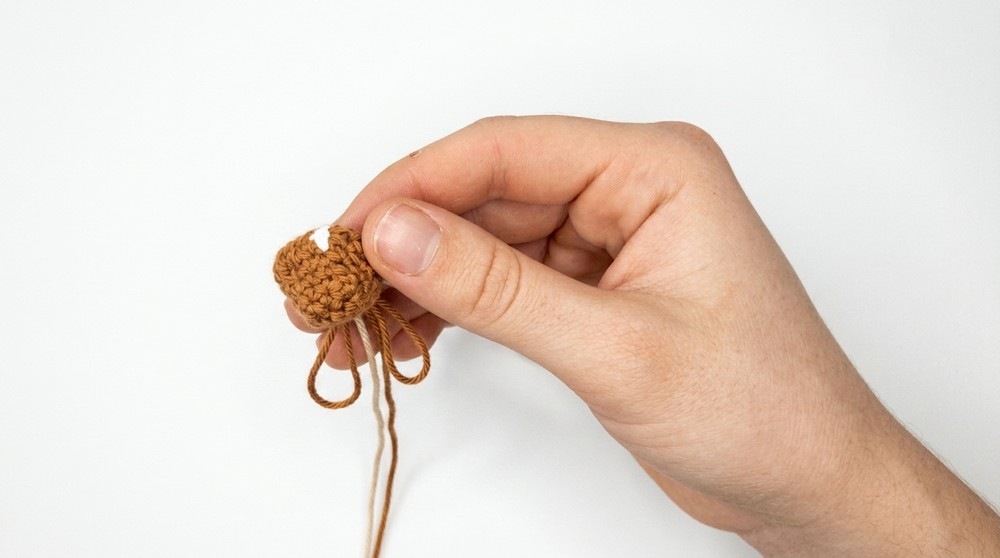
Insert Safety Eyes
- Place safety eyes below the first two increases on either side of the face (refer to approximate position according to your work in progress).
- Secure by melting the back stem with a lighter if desired for a flatter finish.
Continue Head Shaping
- Round 6:
- Sc in each st around, all in main color (14 sts)
- Round 7:
- Sc in next 2
- dec
- Sc in next 4
- dec
- Sc in next 4 (12 sts)
- Round 8:
- Sc in next 2
- 3 x dec
- Sc in next 4 (9 sts)
- Lightly stuff the head.
Body Construction
Body Stripe Sequence
Repeat the following colorwork sequence for the body, making color changes as described:
Round 9:
- Sc in next 3
- Change to Color B, sc, close with Color A
- Sc in next 4 (8 sts)
Round 10:
- Sc in next 2
- Inc
- Close with Color B, sc in next 2
- Back to Color A, inc
- Sc in next 2 (10 sts)
Round 11:
- Sc in each st (10 sts)

Round 12:
- Sc in next 2, close the 2nd st with Color B
- Sc in next 2 with Color B, close 2nd with Color A
- Sc in next 3 with Color A, close 3rd with Color B
- Sc in next 2 with Color B, close last with Color A
- Sc in last st (10 sts)
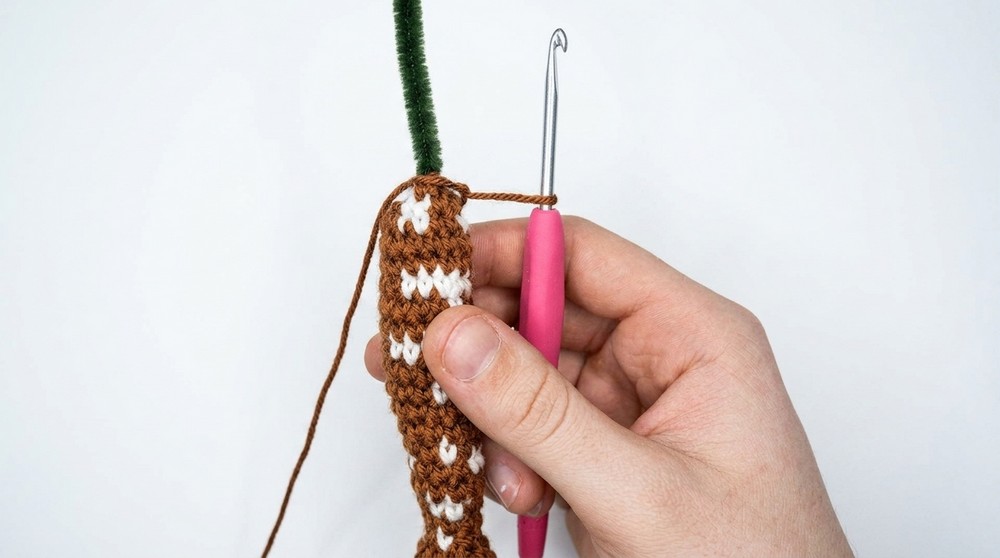
Insert Pipe Cleaner
- Bend the end and insert pipe cleaner after these rounds, wrapping a bit of stuffing around as you work to help maintain shape.
- Cut pipe cleaner later when you near the end.
Continue with:
Round 13:
- Sc in next 3, inc (close with Color B)
- Sc in Color B, close with Color A
- Sc, inc, sc in last 2 (12 sts)
Round 14:
- Sc in each st (12 sts)
Round 15:
- Sc in next 4
- Inc
- Sc in next 4
- Inc
- Sc in last 2 (14 sts)
Round 16:
- Sc in next 7
- In Color B, sc in next 2 (color changes as before)
- Finish round with Color A (14 sts)
Round 17:
- Sc in each st all in Color A (14 sts)
Continue color change and stripe sequence as established, working even or placing increases/decreases as needed for desired length/shape. Add stuffing as you go.
Tapering the Tail
Once the desired length is reached:
Decrease Rounds:
- [sc in 7, dec, sc in 3, dec] (12 sts)
- [sc in 6, close with Color B, sc in 2 with Color B, close with Color A, sc in 2 with Color A, close with Color B, sc in 2 with Color B] (12 sts)
- Sc in 6, dec, sc in 2, dec (10 sts)
- Sc in each st around (10 sts)
- [dec, sc in 5, dec, sc in last st] (8 sts)
- Sc in 7, close with Color B, sc in last with Color B, close with Color A (8 sts)
- *In Yellow, [dec, sc in 3, dec, sc in last] (6 sts)
8–9. Sc in each st around (6 sts for 2 rounds)
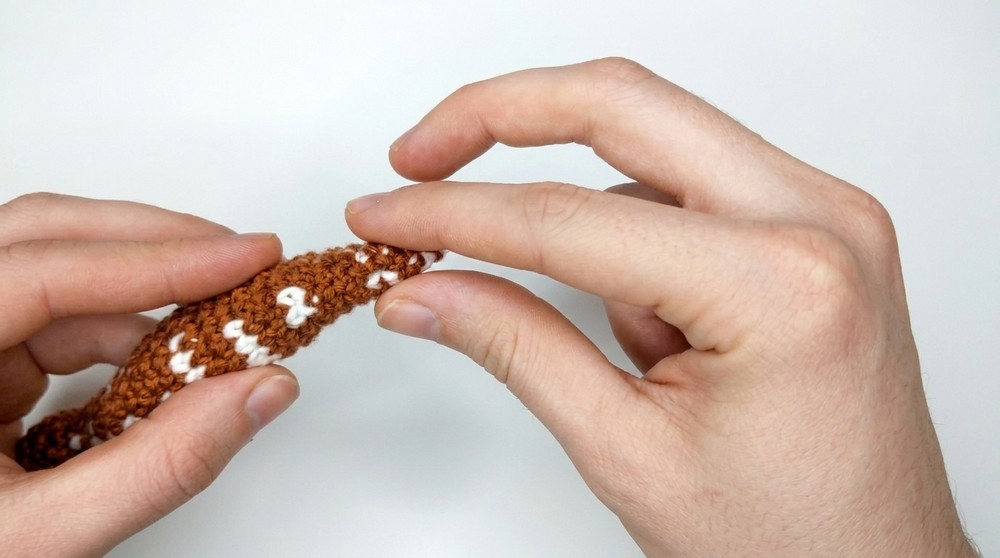
Bend and trim the end of the pipe cleaner, tuck in securely.
Final decrease:
- [Sc, dec] x2 (4 sts)
Finish off:
- Sl st in next st, ch 1, cut yarn leaving a long tail.
- Thread onto yarn needle, pass through front loops of the remaining 4 sts, pull tight to close.
- Weave in and hide the tail.
Optional
- Add a keychain attachment through the mouth area if desired.
- Embroider a small tongue if you like.
Conclusion
You have completed your flexible, striped amigurumi snake! The body can be posed thanks to the pipe cleaner. Feel free to experiment with different color sequences and striping styles.
Pattern Corrections & Tips
- Be vigilant with color changes! Close the last yarn-over of the stitch before you wish to switch colors with the new color.
- If your stitches are too loose: Use a smaller hook.
- If you forget to add the pipe cleaner: It’s very difficult to insert it later; always add as soon as the body opens up.
- For safety eyes: Burnish the backs for a smoother, less bulky finish if desired.
- Stuff as you go to keep the body smooth and even—don’t overstuff, or the pipe cleaner won’t flex well.
- Modifying size: Use heavier/lighter yarn and hook size as you wish for different sized snakes.
- Finishing: Always knot and hide tails securely, especially if gifting to children.