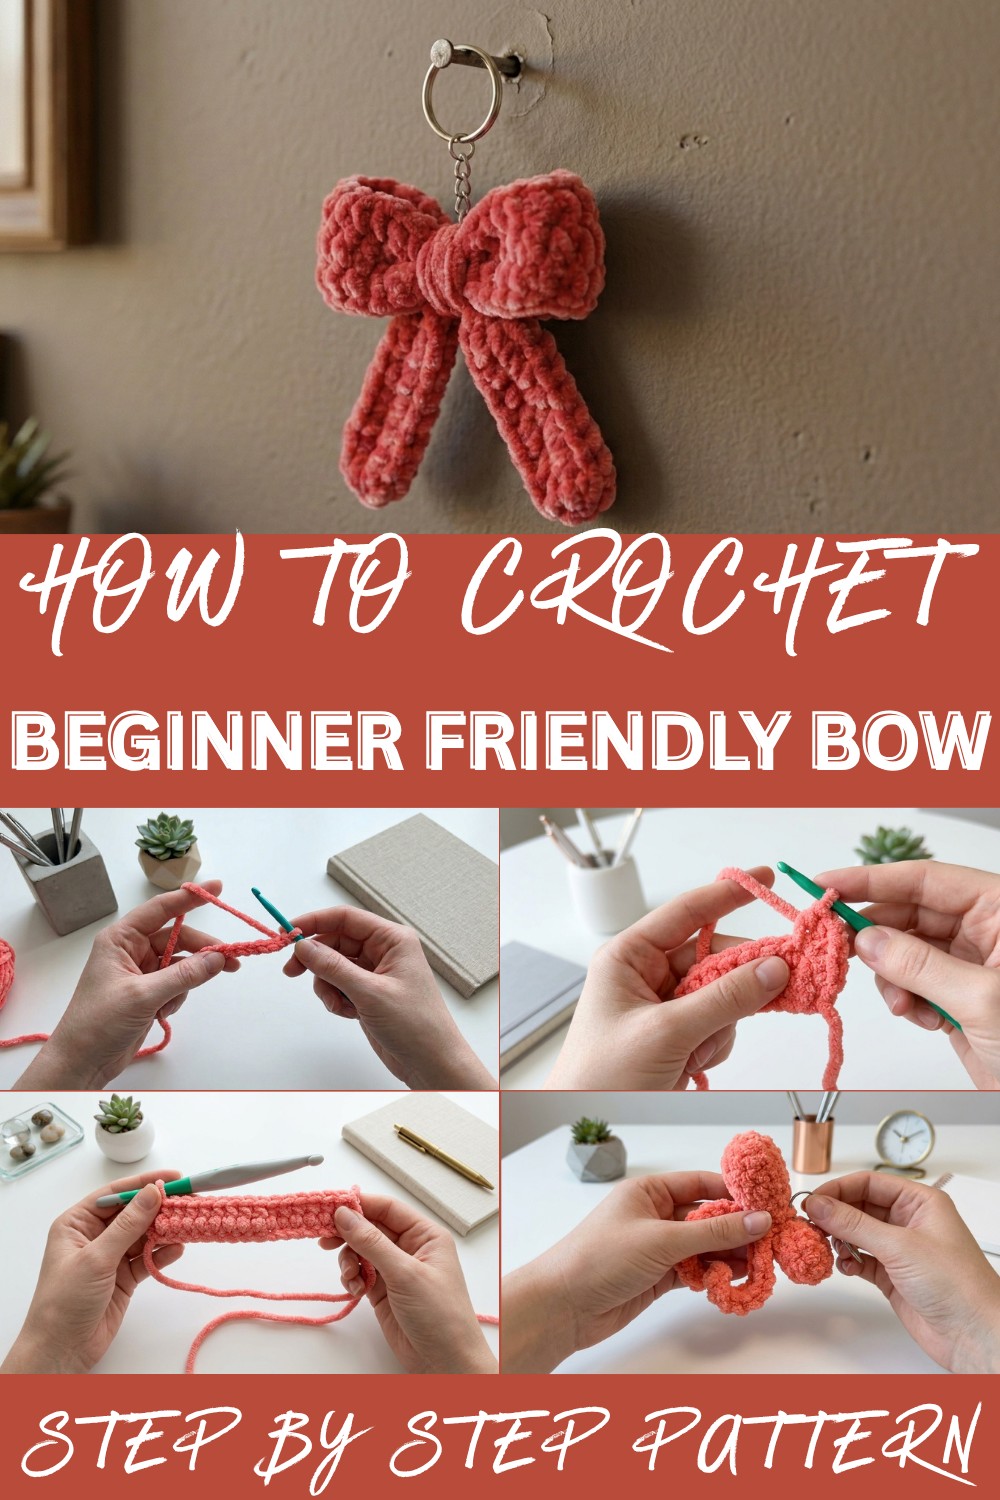
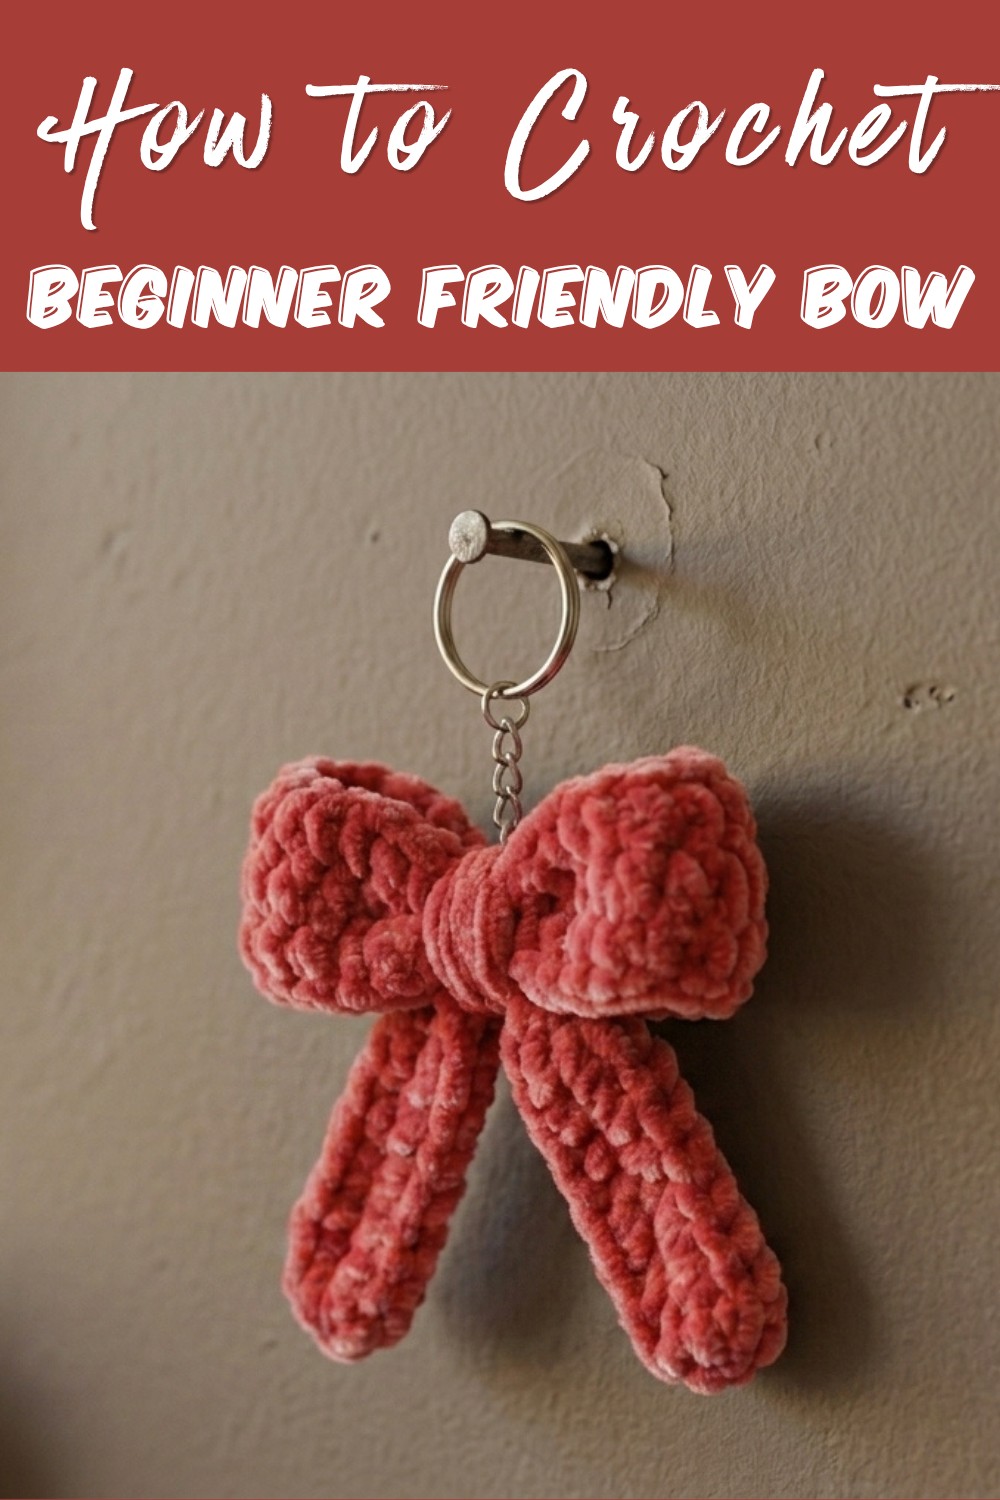
Show your style with this free crochet bow keychain pattern that is easy to follow and perfect for brightening keys or bags with a cute touch.
Ever wondered how you can add a cheerful touch to your everyday item without spending much or learning complicated steps? The crochet bow keychain pattern is a simple answer that lets you turn a small bit of yarn into a charming bow you can use every day. Hang it on your key so it is always easy to spot or clip it to a bag’s zipper to make it easy to open and more stylish.
Free Crochet Bow Keychain Pattern: Step by Step Guide
This cute bow is perfect for a child who likes playful colors and shapes, and an adult can use or gift it with pride. You don’t need to be an expert to follow the pattern—anyone can pick up a hook and create this friendly accessory. The bow you finish feels special and brings a smile, brightening simple things in your life. With the crochet bow keychain pattern, you bring color, creativity and fun wherever you go, making it easy for anyone to take part in the joy of handmade project.
Free Crochet Bow Keychain Pattern
Materials
- Yarn: Worsted weight or chunky yarn in your choice of color (solid or variegated)
- Hook: Size H/8 (5.0 mm) or appropriate for yarn type
- Yarn needle: For sewing and weaving in ends
- Scissors
- Optional: Keychain hardware with jump ring and end clamp, and pliers for assembly
Abbreviations (US Terms)
- ch: chain
- sc: single crochet
- st(s): stitch(es)
- sl st: slip stitch
- FO: fasten off
Special Notes
- Work single crochets under both loops unless otherwise specified.
- Bow, tail, and wrapping center can be adjusted for size by altering the foundation chains and/or number of rows.
- Leaving a long yarn tail when fastening off will be helpful for sewing and wrapping.
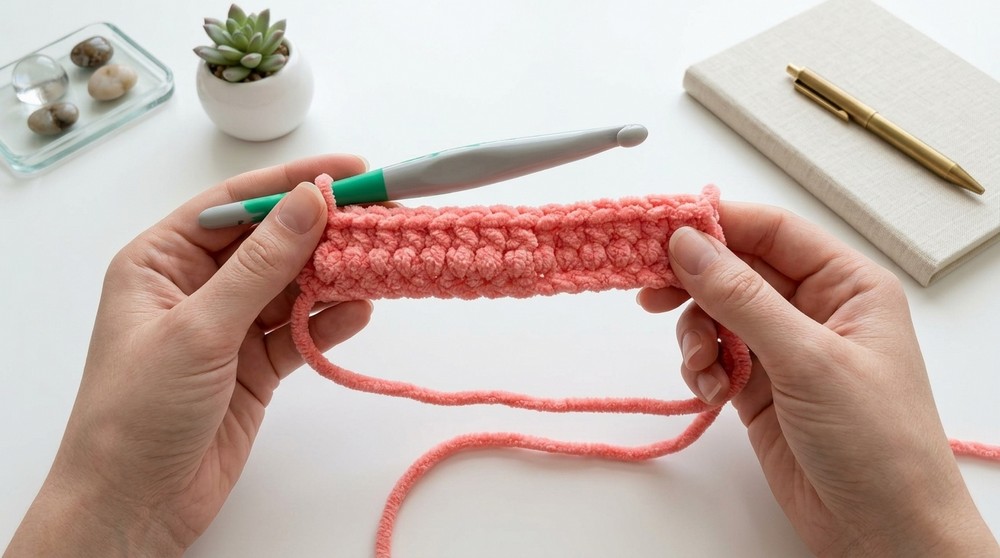
Pattern
Main Bow Piece
- Slip Knot & Foundation Row:
- Make a slip knot, ch 19.
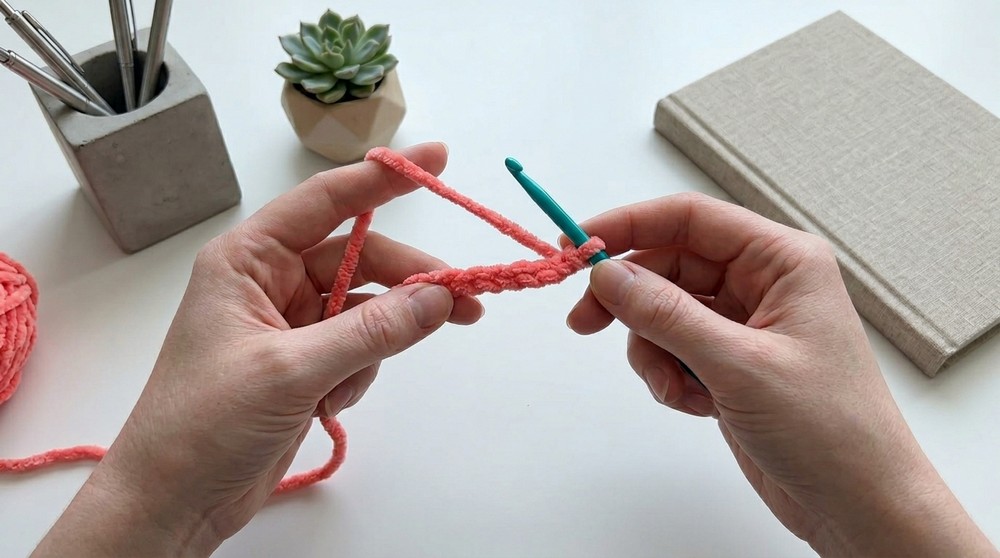
- Row 1:
- Sc in 2nd ch from hook and in each ch across. (18 sc)
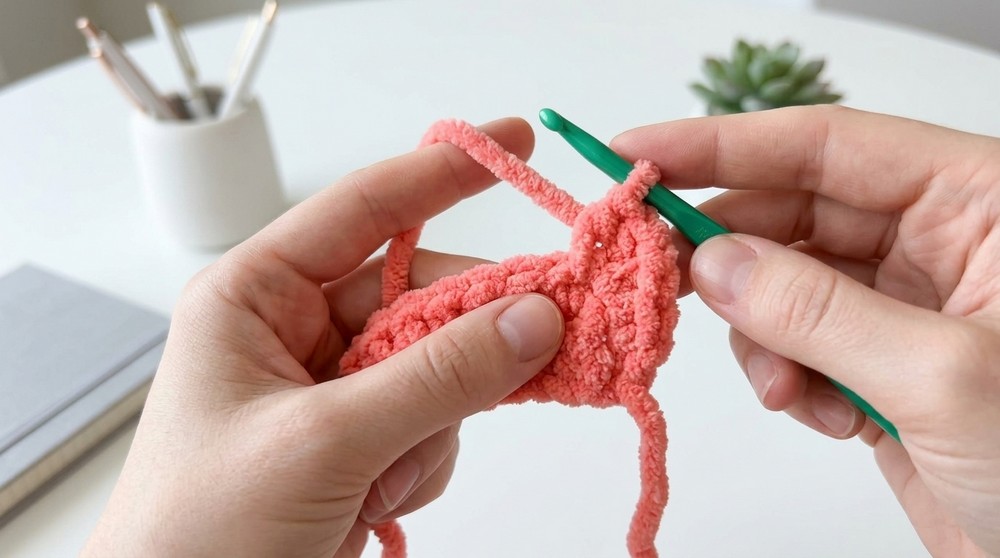
- Row 2:
- Ch 1, turn. Sc in each st across. (18 sc)
- Fasten Off:
- FO, leaving a long tail (about 12 inches/30 cm) for assembly.
- Set aside.
Tail Piece
- Slip Knot & Foundation Row:
- Make a slip knot, ch 19.
- Row 1:
- Sc in 2nd ch from hook and in each ch across. (18 sc)
- Row 2:
- Ch 1, turn. Sc in each st across. (18 sc)
- Fasten Off:
- FO, tails can be left short.
- Set aside.
Assembly
1. Weave in Short Ends
- Using the yarn needle, weave in the short tails on both pieces to tidy up.
2. Sewing together
- Lay tail piece flat. Lay bow piece on top, aligning the short sides.
- Use the long tail from the bow piece and your needle to sew the two pieces together at the middle, corner to corner.
3. Form the Center
- Firmly wrap the long yarn tail around the center where the two pieces join, pinching to create the bow shape.
- Tie the ends together at the back of the bow to secure.
- Weave in any remaining yarn ends underneath the wrapped center for neatness.
4. Adjusting
- Adjust the wraps and fabric as needed so the bow holds its shape and tails hang down neatly.
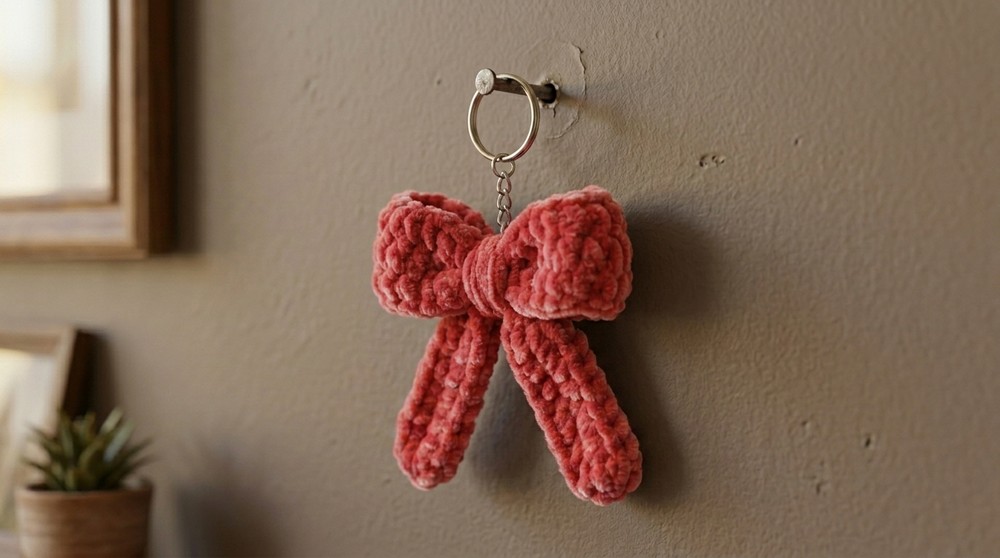
Finishing & Keychain Assembly (Optional)
- Attach Hardware:
- Use pliers to open the jump ring or end clamp, insert through the wrapped yarn at the bow’s center or the middle “V,” and close securely.
- Attach to your keychain ring or clasp as preferred.
Conclusion
Your cute and simple crochet bow keychain is finished! This pattern is quick and easy—perfect for using up scrap yarn or creating matching sets for gifts. Customizing with different yarn weights, lengths, or adding embellishments is highly encouraged.
Pattern Corrections & Tips
- For a larger or smaller bow, adjust the starting chain and number of rows.
- Maintain even and tight stitches for a crisp, structured bow.
- For a more secure accessory, use fabric glue after wrapping the center or stitch down the wraps.
- If using especially slippery yarn, double-knot before weaving in ends.
- Secure the jump ring or clamp firmly to avoid losing your bow.
- Decorative buttons or pearls can add a finished touch to the bow’s center.