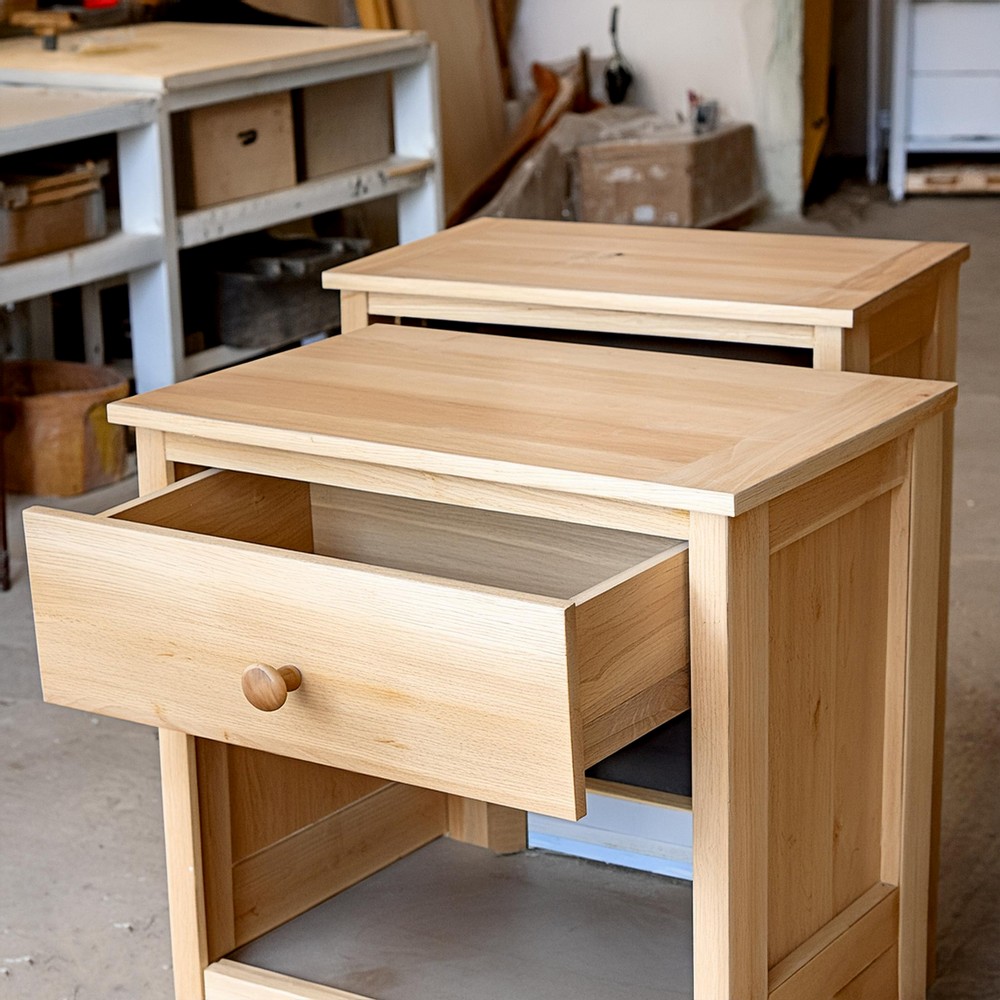
Let's build a nightstand that will be by your side, holding all the little things you need before you say goodnight by following this easier project. This project is fun and not too hard, so you don't need to be a pro. You'll measure, cut, and put together each part, and before you know it, you'll have a brand-new piece of furniture that you made all by yourself. It's like making a new friend for your room, one that's helpful and makes your space look even nicer.
How To Build A Nightstand

Materials Required
Here's what you'll need to gather before you begin:
- Purebond plywood (maple species is recommended) is ¾" thick for a sturdy build.
- Wood trim for detailed side panels, adding a touch of elegance.
- Drawer slides: Choose soft-closing ball-bearing ones for a touch of luxury every time you reach for your bedside read.
- Bun feet from Osborne Wood, combining form and function for a finished look and elevated design.
- A back panel will seal off the structure and enhance sturdiness (with consideration for any required vent).
- Fasteners and adhesives to hold all pieces together securely.
Tools of the Trade
Equipment plays a pivotal role in the process, so make sure you have:
- A Kreg Pocket Hole Jig to join pieces seamlessly.
- A power drill, your dynamic partner for efficient construction.
- A hammer or nail gun — because precision matters in every strike.
- A saw to cut your plywood and trim to the perfect sizes.
- Measuring tape because, in crafting, every inch tells a story.
- Safety gear, because nothing is more important than your well-being through this process.
The Build Process
Constructing the Carcass:
- Starting: Initiate your project by shaping the outer shell of the nightstand using plywood cut to size.
- Joinery Mastery: Employ your Kreg Pocket Hole Jig to unite the pieces with strength and finesse.
Embellishing with Trim:
- Trim and Detail: Glue and nail your trim pieces to the plywood side panels, infusing character and detail into the stand's silhouette.
Crafting the Drawer:
- Box Formation: Assemble the drawer box with the same pocket hole joinery to ensure the continuity of design and robustness.
- Slide Installation: Fix the metal drawer slides as per manufacturer instructions to allow for a smooth gliding motion.
- Drawer Fronts: Follow up by attaching the drawer fronts, ensuring alignment for aesthetic symmetry.
Final Touches:
- Back it Up: Secure a back panel to the carcass, adding structural integrity and laying the groundwork for the final stance.
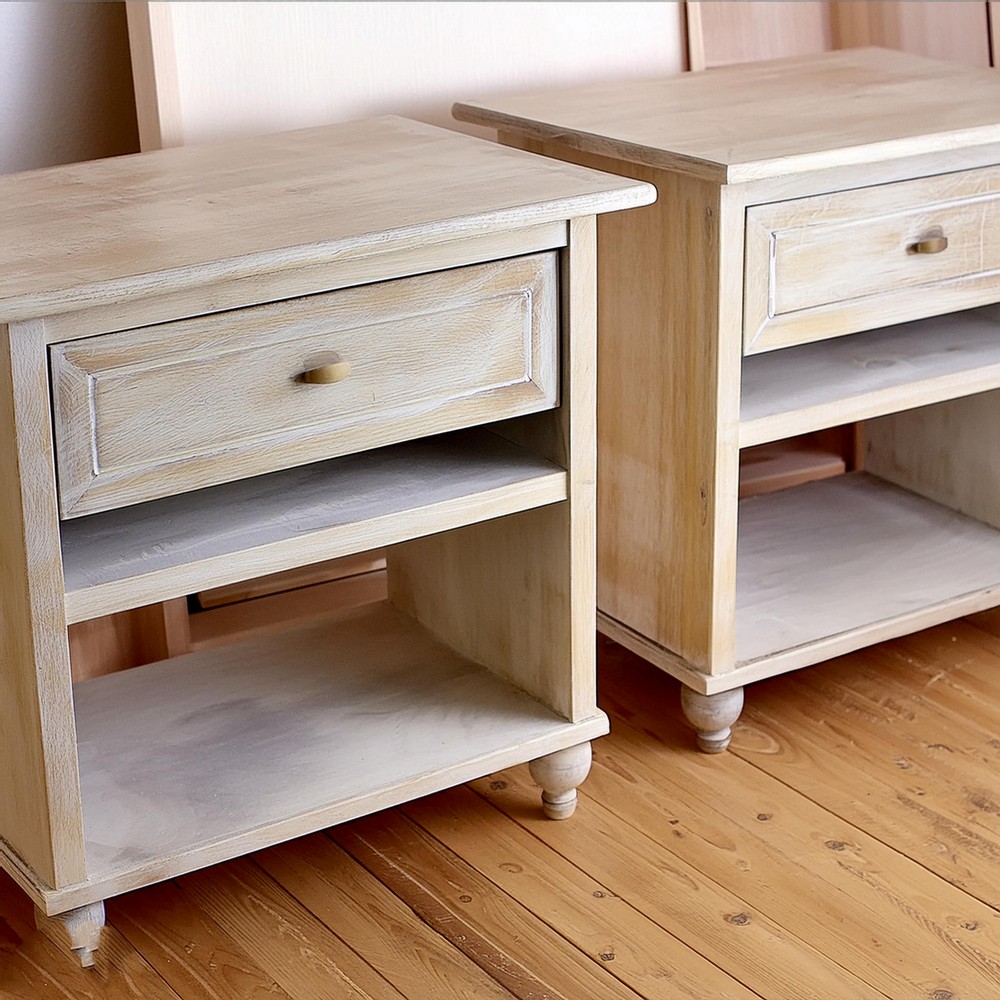
- Elevating on Feet: Fasten the bun feet underneath, taking your nightstand from ordinary to extraordinary with just a lift.
- Vent Consideration: Remember to leave an open space at the lower back if there’s a need to accommodate room vents.
Finishing:
- For Your Palette: The ultimate stain and finish will come after the dresser to match is complete, ensuring a harmonious blend of color and texture across your furniture set.